Chat
Chat


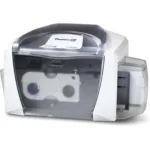


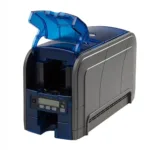


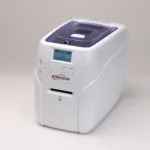
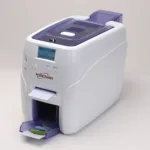

1.) Open up the cover.
2.) Pull back on the blue latch hooks to release the printhead arm and pull the printhead arm to its fully open position.
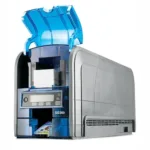
3.) To load the ribbon: Place the supply end of the print ribbon in between the two hubs. The print ribbon comes wound on a gray spool with a green ring around one side. Match the green ring on the Ribbon Spool to the green hub inside the printer.
4.) Now insert the take-up end of the ribbon by depressing the spring hub and lowering it into place. Make certain the Ribbon is fed from beneath the roll.
5.) Lower the print arm assembly by gently pressing down with your thumb until the printhead arm latches into place.
Now its time to replace the card cleaning roller that came with your ribbon.
Remove the old card cleaning roller contained in the blue cartridge towards the back of the printer. Remove the white cover sheet before loading the card cleaning cartridge. Slide the blue cartridge down and back into place. Close the printer cover and start printing.
 Sales :
 Sales :


 Your Cart