Chat
Chat


Video Transcription:
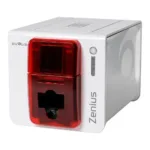
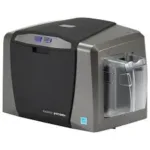
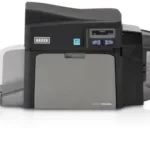
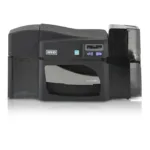
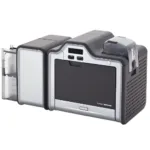
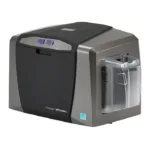
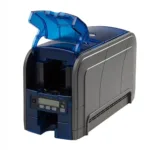
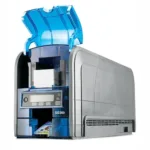
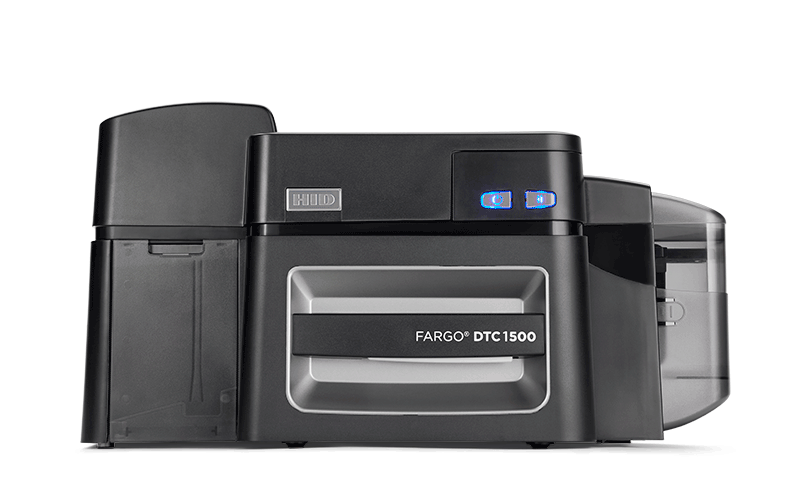
This video on the DTC1500 printer will you show you how to install a magnetic encoder. Disconnect the power and USB cables. Flip the printer onto its front. Use a torque T10 screwdriver to remove these two screws. Return the printer to an upright position, now remove the top cover by lifting these two tabs. Once the cover is removed both the printer and the flipper are exposed. Remove the card path tab which is colored white. The two tabs being pointed out on the magnetic encoder are used to ensure the correct location in the printer by sliding along these two groves. Slide the encoder along the groves as shown. Make sure the encoder is pushed home firmly to ensure a good contact with the main board. Now the top cover can be replaced. After refitting the screws previously removed, the magnetic encoder installation procedure is complete. For more technical videos please visit our HID Global channel on YouTube.
 Sales :
 Sales :


 Your Cart