Chat
Chat


Video Transcription:
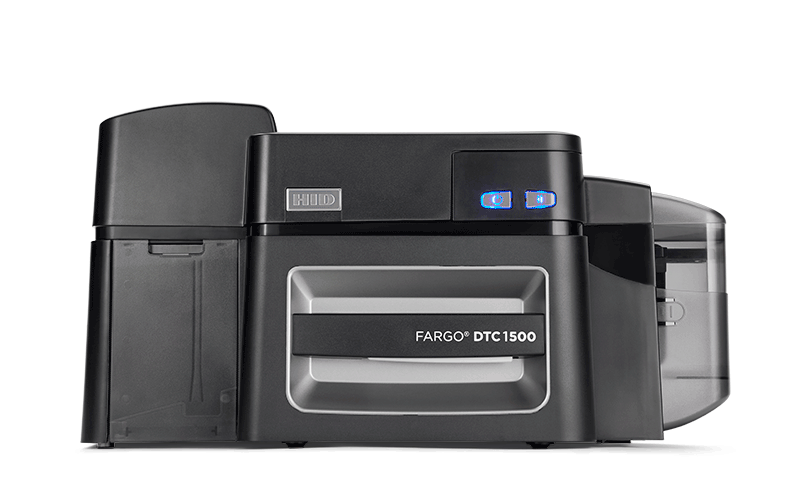
This video on the Fargo DTC1500 printer will show you how to install OMNIKEY contactless encoder. Disconnect the power and USB cables. Put the printer onto the front to remove the two screws that secure the top cover. Return the printer to an upright position and then remove the top cover by starting at the edge of the back of the printer. Remove this screw from the main board. Remove the USB connection jumper as shown. Install the USB board that came with the upgrade kit. Secure the board with long screw that came with the upgrade kit. Tilt the power button housing forward to unsnap from the bottom and remove. The contactless encoder will be installed in the right hand bay behind the power button. Tilt and slide the encoder into the bay until it makes solid contact. Root the wires under the frame as shown. Connect the wires to the USB board. Replace the button housing by inserting the bottom tabs first and then pressing down on the top. Replace the top cover. Tilt the printer onto its front and the secure the top cover by using the two screws previously removed. The contactless encoder upgrade is now complete. To see more technical videos please visit HID Global channel on YouTube.
 Sales :
 Sales :


 Your Cart