Chat
Chat


Video Transcription:
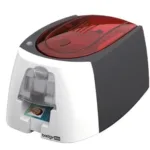
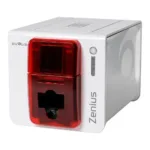
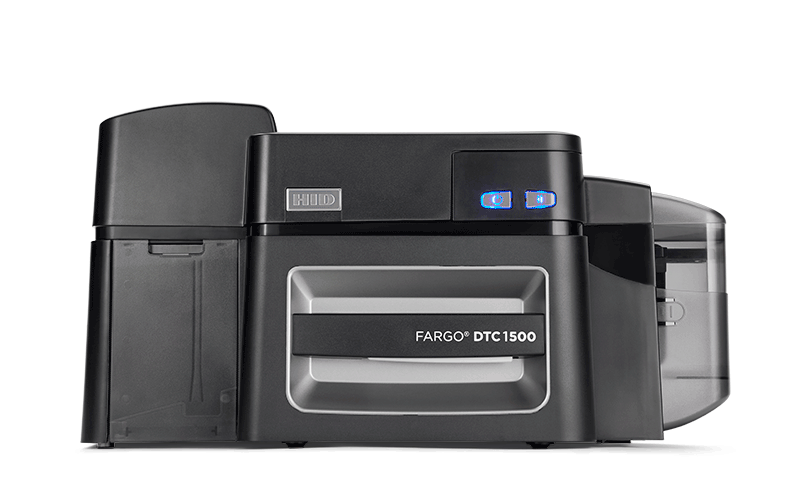
This video on the Fargo DTC1500 printer will show you how to replace the print head. Disconnect the printer power and USB cables. Tilt the printer onto its back. Remove the adhesive tape from the print head cover. Use a flat head screwdriver to lift the cover. Pull these two tabs inwards and pull upwards to loosen the print head. Unlock the print head by moving the white push rod to the right. The print head assembly can now be pulled upwards and out. Hold the print head mount and rotate the print head away from you to release it. Remove the torque screw to release the ground cable. Remove the cable connector while being careful not to damage the pins. Connect the wires to the new print head. Make a note of the print head resistance value. Reconnect the ground cable with the torque screw that was previously removed. Now clip the print head back on the mount. Insert the print head mount assembly into the printer. Verify that the white push rod is on the right side of the tab. Replace the print head cover. Now click start on your PC, select devices and printers. Right click on the DTC1500 card printer icon, select printing preferences. Click the toolbox button. Select the advanced settings tab. Update the head resistance setting with the value recorded earlier from the new print head, click apply. Click OK. Once more click OK. To see more technical videos please visit our HID Global channel on YouTube.
 Sales :
 Sales :


 Your Cart