Chat
Chat


Video Transcription:
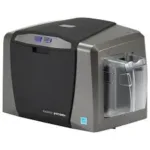
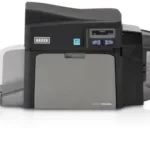
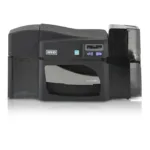
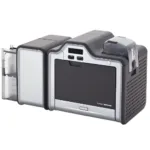
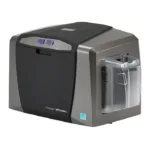
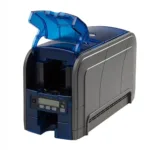
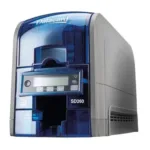
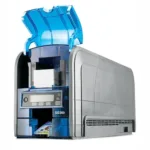
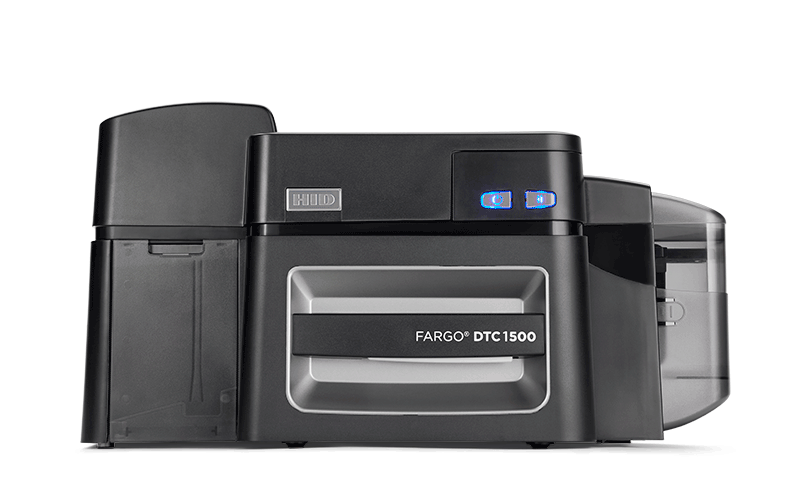
This video on the FARGO DTC1500 demonstrates on how to add a lamination module to the printer. This field upgrade should only be carried out by an HID trained technician. Using a torque T10 screwdriver remove these two screws on the back of the printer. Remove the top cover by pushing inwards on these two tabs. Remove this screw which attaches the top of the flipper module to the printer. Now turn the printer over to remove these two screws attaching the bottom of the flipper module to the printer. Pry the tabs away from the base of the printer. Disconnect the flipper from the main circuit board. Insert the hopper cover that came with the lamination kit. Now remove the tab from the lamination module top cover. Now the top cover itself can be removed. Open the laminator door so the back panel can be removed. Line up the laminator with the printer and slide them together. Make sure the bottom tabs are secured and there is no gaps between the laminator and the printer. Secure the Laminator by securing the two screws previously removed from the bottom of the printer. Open the laminator side door and attach the connector to the printers main circuit board. Replace the laminator side cover as shown. Replace the top cover. For more technical videos please visit our HID Global channel on YouTube.
 Sales :
 Sales :


 Your Cart